
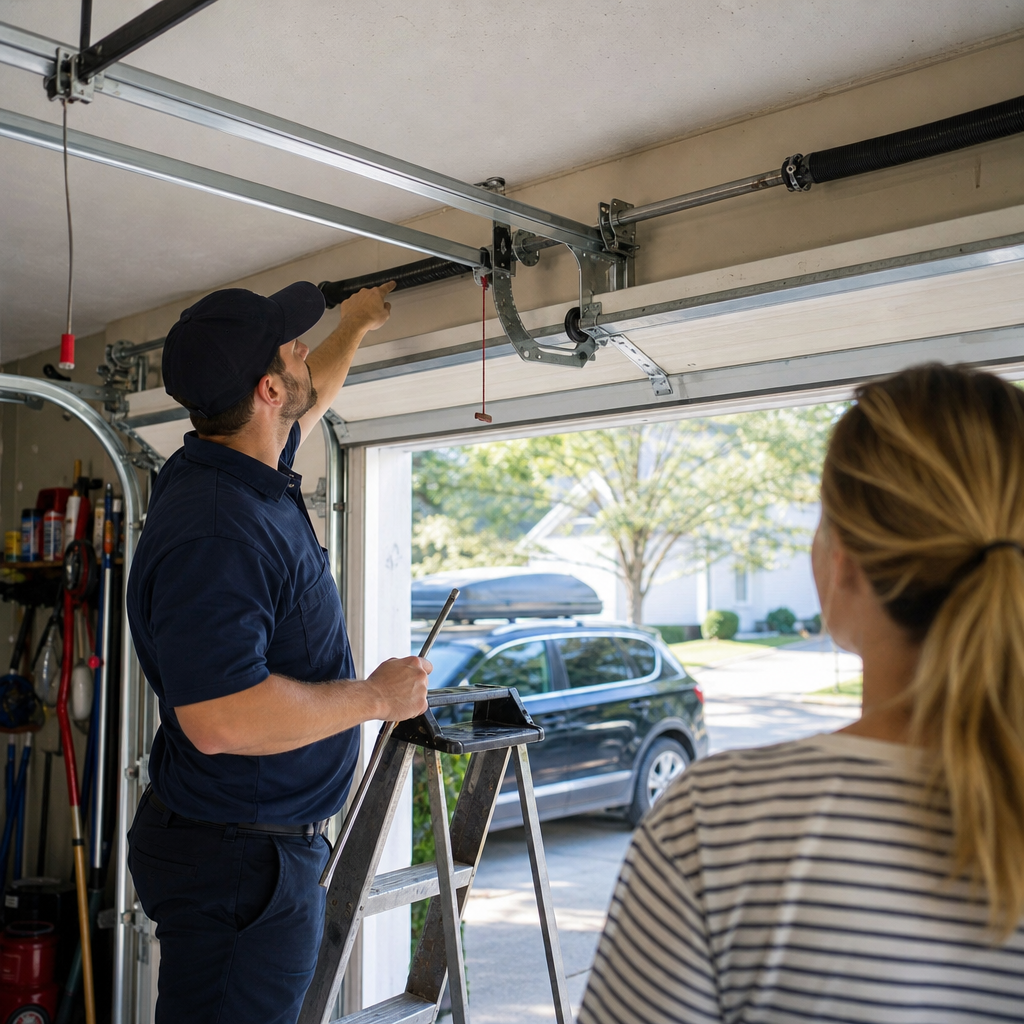
How to Program a Garage Door Opener in Columbus, OH — From the Motor Head to the Car’s HomeLink
Programming a garage door opener starts at the motor head unit hanging from your garage ceiling: press and hold the “Learn” button until its LED glows, then press your remote button within 30 seconds. If your Columbus home was built before 1995, your opener likely uses dip switches instead — a completely different process that confuses most online guides. For a quick compatibility check before you start, call Steven Ramirez at Empire Garage Door Installation Columbus — (877) 502-2559 — and he’ll tell you over the phone whether your remote and opener can even talk to each other.
Why Columbus Resale Homes Create Mismatched Opener Headaches
Last spring, we got a call from a homeowner in Hilliard who’d spent two hours in a freezing garage with a Chamberlain remote, a LiftMaster motor, and a 2019 Subaru that refused to pair with either. The previous owner had left behind a remote that looked right but ran on 390 MHz; the actual opener was a 315 MHz Security+ 2.0 unit. That’s not user error — that’s a mismatch no amount of button-mashing fixes.
Columbus’s explosive suburban growth from the 1990s through the 2010s — concentrated in Dublin, Hilliard, Westerville, Gahanna, Grove City, and Reynoldsburg — produced one of Ohio’s largest cohorts of builder-grade garage doors and openers now simultaneously hitting 20–30 year end-of-life. When these homes change hands, the opener, the remote, and the car’s built-in system often become a three-party negotiation that generic programming guides don’t address.
Here’s what we see regularly: a 2004 Wayne Dalton drive unit in a Westerville garage, a Craftsman remote the seller “threw in,” and a new homeowner trying to program their HomeLink system without understanding that Security+ 2.0 encryption requires a specific bridge procedure. Before you program anything, you need to identify what you actually have.
Step 1: Read the Motor Head — Not the Remote
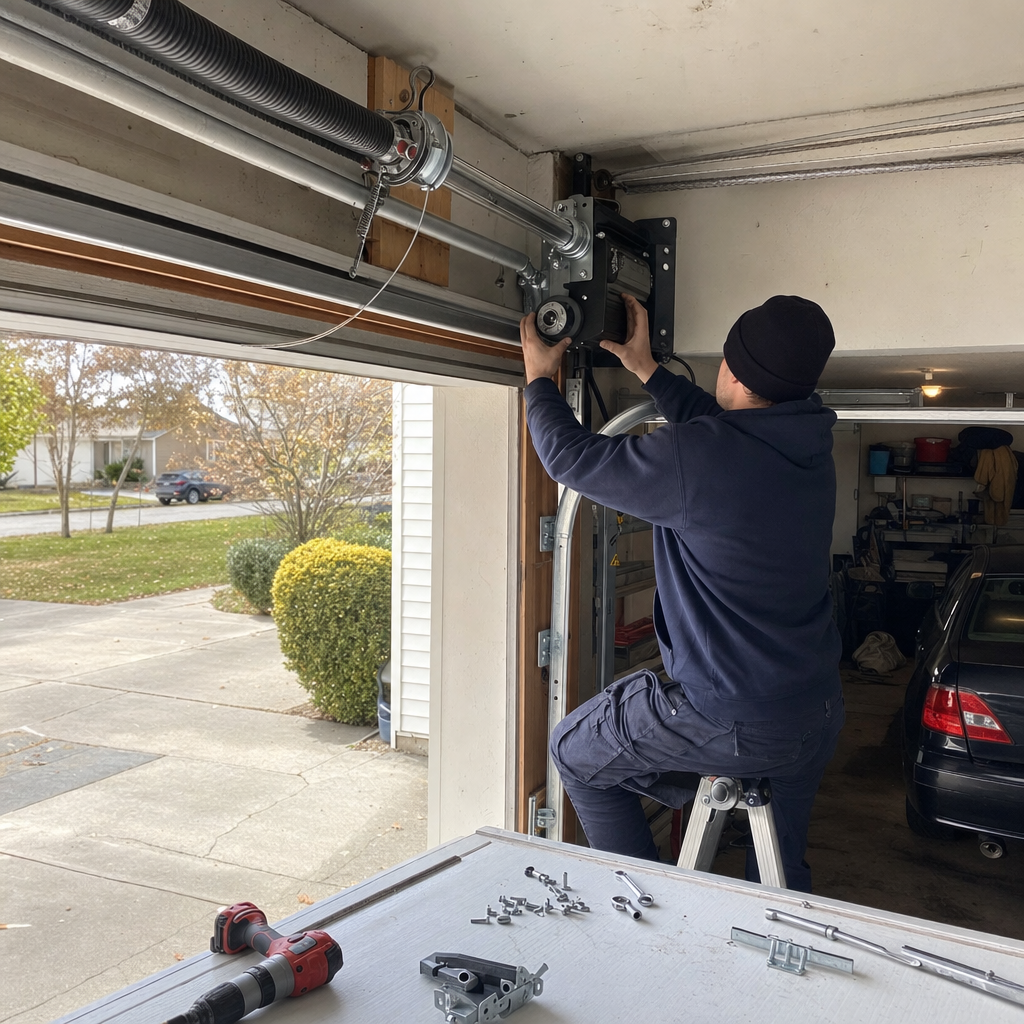
The model number that matters is on the opener itself, not the remote. Look for a sticker or metal plate on the motor head unit — the box hanging from the ceiling — typically facing the garage door or on the light cover. Write down:
- The full model number (usually 5–8 characters)
- The manufacturing date or serial number
- Whether there’s a colored “Learn” button (purple, yellow, orange, green, or red) or a panel of small white dip switches
The Learn button color tells you the frequency and security generation. Purple means 315 MHz Security+; yellow means 390 MHz Security+ 2.0; orange and red are older 390 MHz systems; green is typically 390 MHz Billion Code. Pre-1995 units in older Columbus neighborhoods like Clintonville or Bexley won’t have a Learn button at all — they’ll have dip switches you set to match the remote.
Step 2: Check Your Remote’s Frequency
Flip the remote over or pop the battery cover. You’re looking for “315 MHz,” “390 MHz,” or “433 MHz” printed somewhere — or a small diagram showing dip switch positions. If your remote says 390 MHz and your opener’s Learn button is purple (315 MHz), they won’t pair. Period.
This frequency mismatch is the single biggest reason programming “just won’t work” in Columbus resale homes. We’ve walked countless homeowners through this check over the phone, saving them a trip to Home Depot for a replacement remote that also won’t work.
Step 3: The Actual Programming Sequence
Once you’ve confirmed compatibility, here’s how to program the major brands we service. One consolidated reference covering all eight brands is information the generic single-brand guides don’t provide:
| Brand | Learn Button Location | Programming Steps |
|---|---|---|
| LiftMaster (post-1993) | Side or back of motor head; colored button under light lens | Press and release Learn button; LED glows 30 seconds. Press remote button once. Light bulb flashes or clicks twice to confirm. |
| Chamberlain (post-1993) | Same as LiftMaster — parent company, identical procedure | Press and release Learn button; LED glows 30 seconds. Press remote button once. Two clicks or light flash confirms. |
| Genie (Intellicode) | Behind light lens or on receiver; may say “Learn” or “Program” | Press and hold Learn button until LED blinks. Press remote button twice. LED stops blinking to confirm. |
| Craftsman (post-1993) | Side of motor head; colored button | Identical to LiftMaster/Chamberlain — press and release Learn, then remote button once within 30 seconds. |
| Wayne Dalton (Quantum/Prodrive) | On wall console or motor head; may be “Program” button | Press Program button until LED lights. Press remote button; LED flashes to confirm. Some models require holding remote button 10 seconds. |
| Amarr (rebadged openers) | Varies by OEM partner — check for LiftMaster, Genie, or Wayne Dalton internals | Match procedure to actual motor manufacturer, not door brand. |
| Raynor (Aviator/Admiral) | Side of motor head; often orange or red button | Press and release Learn; press remote within 30 seconds. Two clicks confirm. |
| Pre-1995 (all brands) | No Learn button — dip switches on motor and remote | Set all dip switches on remote to exactly match motor receiver. Up/down position must mirror perfectly. |
When Programming Fails: Three Real Causes Beyond “You’re Doing It Wrong”
Generic guides assume technique problems. After two decades of hands-on experience across Columbus, we’ve found three hardware and environment causes that make programming impossible no matter how carefully you follow steps.
Cause 1: LED Bulb Interference
This one’s underreported and genuinely frustrating. Many modern LED bulbs emit radio frequency noise in the 300–400 MHz range — right where your opener’s receiver listens. If your garage door motor has an LED bulb in its socket, try removing it before programming. We’ve seen this in newer Dublin and Powell homes where homeowners upgraded to “smart” LED bulbs and suddenly couldn’t pair remotes that worked fine last year. Swap in a brief incandescent bulb for programming, then switch back if you must.
Cause 2: The HomeLink Encryption Wall
HomeLink — the built-in garage door buttons in most cars since 2010 — struggles with Security+ 2.0 (yellow Learn button) without a specific workaround. The generic “hold two buttons” procedure fails because the car’s system needs to receive a rolling code handshake that the opener won’t initiate without coaching.
For LiftMaster/Chamberlain Security+ 2.0 systems: press and hold the desired HomeLink button and your handheld remote button simultaneously, with the remote 1–3 inches from the car’s mirror. When the HomeLink indicator flashes rapidly, release both. Then press the Learn button on the motor head, return to the car, and press the programmed HomeLink button three times slowly. The opener should click or flash to confirm. Most online guides omit that final three-press step.
Cause 3: The Unit Is Simply Too Old
Openers manufactured before 1993 lack the safety sensors and rolling-code receivers that modern remotes require. No programming sequence will bridge that gap. If your motor head has no Learn button, no dip switches, and no visible model number, you’re likely looking at replacement. In Columbus’s climate — with sharp freeze-thaw swings that drop or rise 40°F within 24 hours and accelerate metal fatigue — a 30-year-old opener has usually earned its retirement anyway.
When you’ve hit a hardware limit, not a technique problem, you’ll know. That’s when a quick call to Garage Door Opener specialists saves you from buying incompatible remotes.
What Columbus’s Climate Does to Opener Electronics
Columbus sits in central Ohio’s freezing-rain belt, and those ice storms do more than glaze door bottom seals to concrete thresholds. After a Columbus ice storm, we get a predictable surge of calls from homeowners across Hilliard and Westerville subdivisions who burned out opener motors trying to force a door frozen solid to its threshold. The city’s sharp freeze-thaw swings — temperatures can drop or rise 40°F within 24 hours — also cause condensation inside motor head housings, corroding circuit boards and making programming receivers unreliable even when they “should” work.
If your opener worked last season but won’t accept programming now, moisture damage to the receiver board is a real possibility. We’ve opened motor heads in Clintonville carriage garages where the circuit board looked like it spent a winter underwater. No button sequence fixes corrosion.
When to Call Instead of Troubleshoot
Here’s where we draw the line honestly: if you’ve confirmed frequency compatibility, tried the correct sequence three times, removed any LED bulbs, and still get no response from the motor head, you’re likely facing receiver failure or an incompatible pairing that no amount of homeowner effort resolves.
We don’t charge to answer the phone. Steven Ramirez will walk you through the compatibility check — opener model, remote frequency, Learn button color — and tell you straight whether it’s worth your time or if you’re looking at Garage Door Opener in Columbus replacement. Opener installation runs $250–$550 in the Columbus market, and opener repair ranges $120–$320. If you’re already two hours into button-mashing, a 10-minute call might save you the afternoon.
I put my name on every door I touch — that keeps me honest.
FAQs
The most common cause is a frequency mismatch between your remote and opener — 315 MHz remotes cannot pair with 390 MHz receivers and vice versa. Other causes include LED bulb interference, a failed receiver board from moisture damage, or trying to program a HomeLink car system without the Security+ 2.0 bridge procedure. Call (877) 502-2559 and we’ll help you diagnose which one you’re facing before you buy anything.
Garage door opener repair in Columbus typically runs $120–$320 depending on whether the issue is a failed circuit board, stripped drive gear, or misaligned safety sensor. Best Garage Door Opener in Columbus, OH installation for a full replacement ranges $250–$550. We provide upfront pricing before any work begins — call (877) 502-2559 for a free estimate.
Universal remotes work with most openers manufactured after 1993 that use standard frequencies, but they cannot overcome fundamental incompatibilities: pre-1993 dip-switch systems, proprietary encrypted signals like some Genie Intellicode variants, or frequency mismatches. We regularly see Columbus homeowners buy “universal” remotes that don’t cover their specific opener’s security generation. Check the compatibility list on the remote packaging against your opener’s model number before purchasing.
Yes — Emergency Garage Door Opener in Columbus, OH service is available for urgent failures, and we stock replacement openers, remotes, and receiver boards for all eight major brands we service. When your door can’t wait, call (877) 502-2559 and we’ll get you scheduled.
Get Expert Help Programming or Replacing Your Columbus Garage Door Opener
If you’d rather have it looked at, Empire Garage Door Installation Columbus offers a no-pressure assessment in Columbus — call (877) 502-2559.
Written by Steven Ramirez, Owner & Lead Technician at Empire Garage Door Installation Columbus, serving Columbus, OH.